
About Azure Virtual Desktop
Azure Virtual Desktop (formerly Windows Virtual Desktop) is a cloud-hosted computer running Windows 11 and a current version of Microsoft 365, including all applications required to complete CS101 assignments.
As Azure Virtual Desktop runs in the cloud, you must have a reliable high speed Internet connection to be able to use it. You must remain connected to the Internet while using it as there is no "offline mode."
When using Azure Virtual Desktop, it is best to do everything with the remote computer. Use the Microsoft Edge browser in the remote computer to download any files you need and submit your work when complete.
How to Use Azure Virtual Desktop
To use Azure Virtual Desktop, follow these instructions.
1. Go to Azure Virtual Desktop website
In your web browser, go to https://virtualapps.wvu.edu.
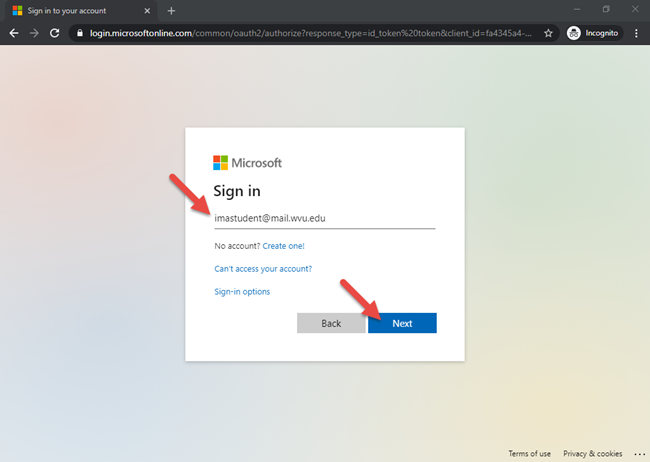
2. Sign-in to Azure Virtual Desktop
To sign-in, for your e-mail address, enter your WVU Login username followed by @mail.wvu.edu. For example, if your WVU Login username is imastudent then enter imastudent@mail.wvu.edu. Click the Next button to continue.
Important: Use @mail.wvu.edu even if your normal e-mail address is @mix.wvu.edu.
3. Enter your WVU Login username
Enter your WVU Login username again. Click the Next button to continue.
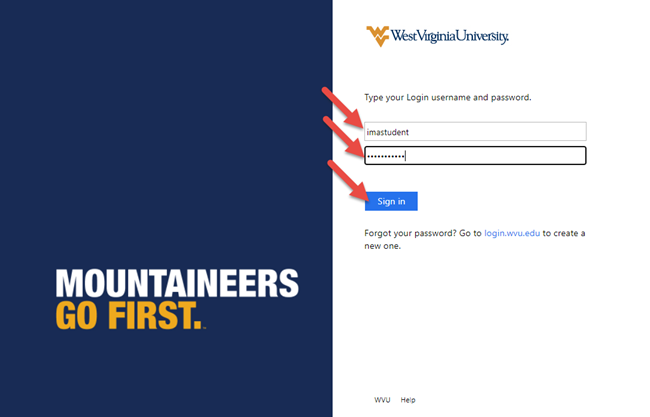
4. Enter your WVU Login password
Enter your WVU Login password. Click the Verify button to move on.
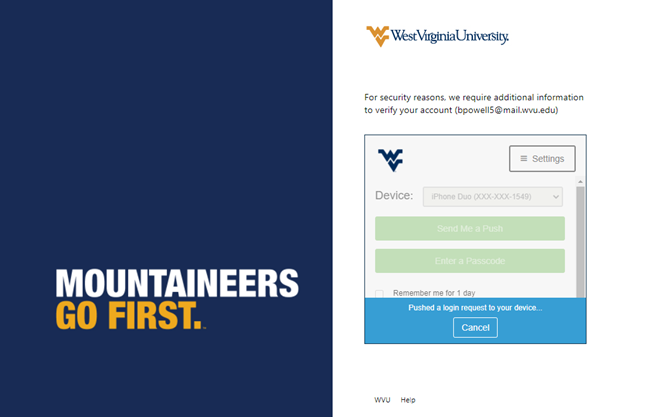
5. Complete Okta verification
You will be required to verify your login using Okta two-factor authentication. Choose to get a push notification or enter a code as you prefer.

6. Go to the Devices section
In the left-hand pane, click on the icon that looks like a computer monitor to go to the Devices section.

7. Open CEMR-CS device
Under the AVD Labs section, click on the button for the CEMR CS Lab device to connect.

If you receive an error that no application is set to open the .rdpw document when completing this step, try clearing your browser cache or using incognito/privacy mode.
8. Accept defaults for In Session Settings
You will be presented with a dialog box to configure in-session settings. Scroll to the bottom and click the Connect button.

9. Sign-in again
You will need to sign-in one last time. When prompted to enter your credentials, enter your WVU Login username and password. Click the Sign In button to continue.

10. Use the computer
Once the login process completes, you will see a Windows desktop. You can use the Microsoft 365 (Office) applications on here as you would on a normal computer. You will need to use the Microsoft Edge browser inside Azure Virtual Desktop to download any starter or data files that you need to work with to your virtual computer. Azure Virtual Desktop cannot access files on your own computer.
To upload your assignments when complete, use the Microsoft Edge browser inside Azure Virtual Desktop.
Any files you save in Azure Virtual Desktop will automatically sync to your WVU OneDrive account. Information on accessing these files remotely is available in the ITS OneDrive for Business support article.

11. Sign-out when done
When done, sign-out of the computer. Click on the Start Menu button, then click on your name in the bottom-left corner. Choose the Sign out option to complete signing off of the remote computer.

Troubleshooting
"No application set to open .rdpw" error

If you receive a message that no application is set to open a .rdpw file when clicking to launch the CEMR-CS tenant, clear your browser cache or use incognito/privacy mode in your browser. This appears to be caused by a bad cached file.
Notes
Logins that are idle (logged in but not doing anything) will automatically be logged out after two hours.
Sessions that are disconnected without logging out, such as by closing a browser window, will automatically be logged out after 5 minutes. Logging back into Azure Virtual Desktop before the 5-minute period has elapsed should generally allow users to reconnect to their existing sessions.